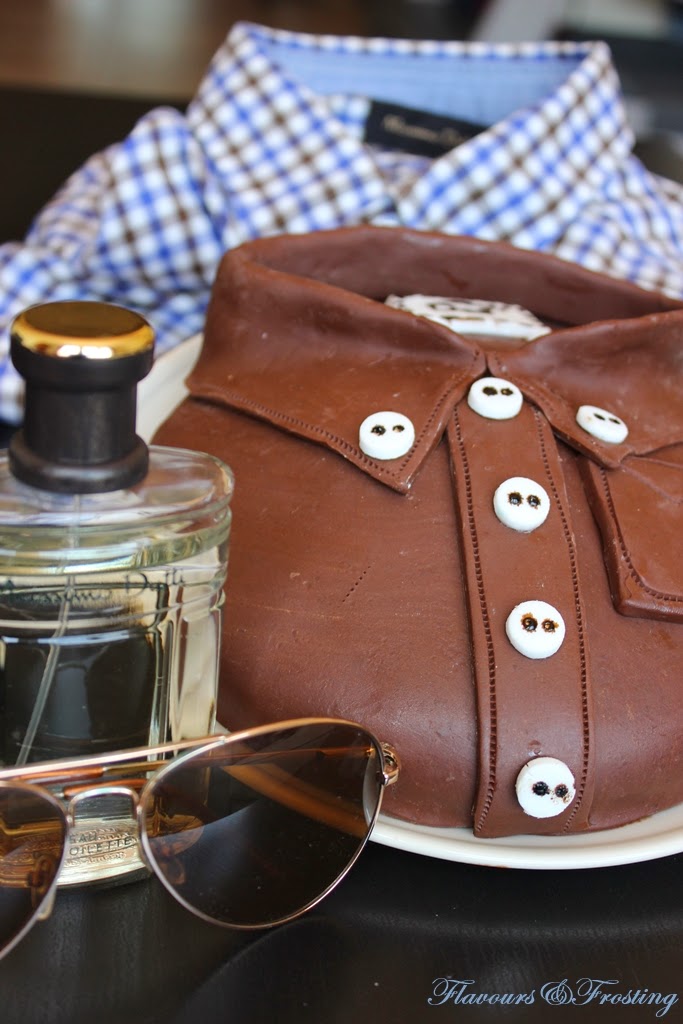
Homemade Modeling Chocolate Shirt Cake. So yesterday was Fathers Day here in Spain. Let me start off by saying Father´s Day can fall on any week day here. Which is kinda weird I think. Now that I´ve said that, let me ask you guys a question.. Did you know that you could make your own modeling chocolate and that it´s very easy..

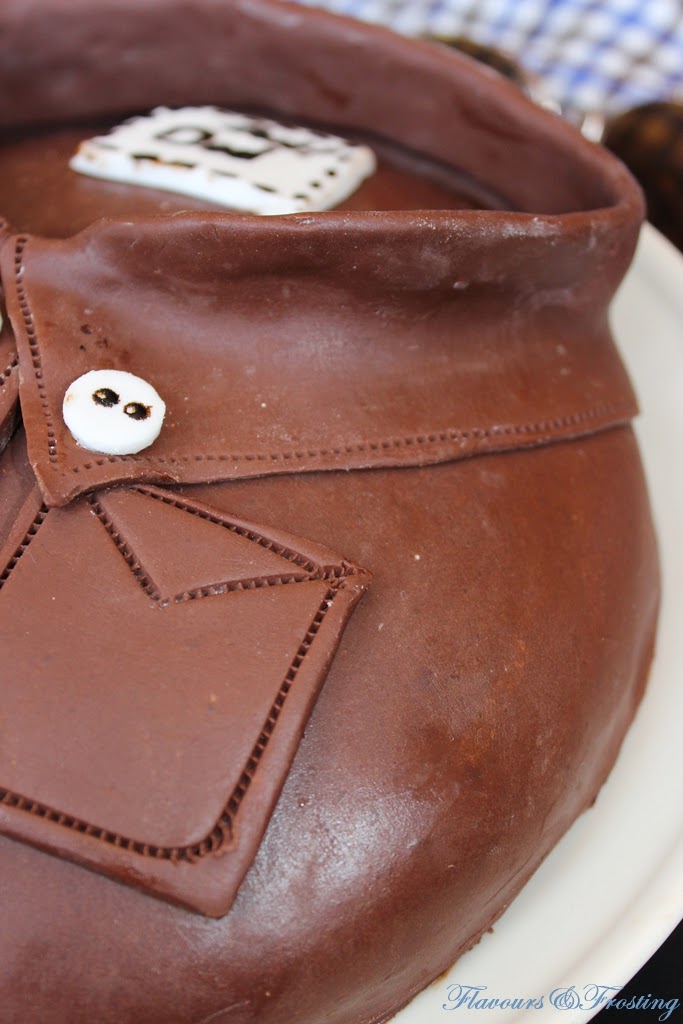
I feel so blessed to have this new camera, my photo shoot time has now reduced by half, And the best part is that I have too many to choose from 🙂 The negative of this new camera is that any flaws can be seen much clearer now! But to be honest I´d take the new camera any day 😉
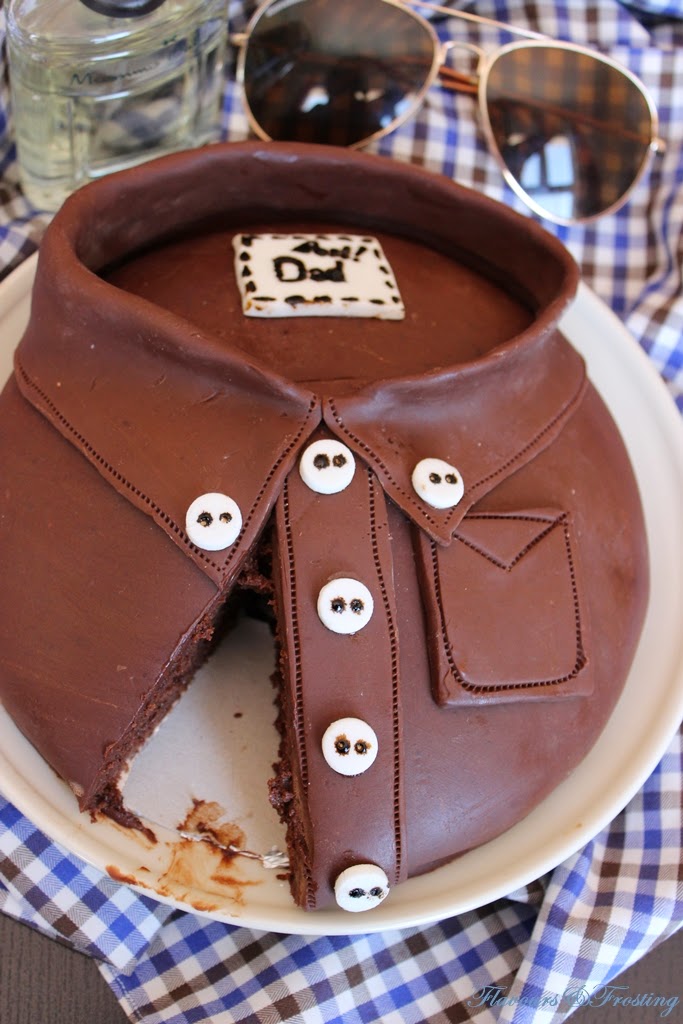
Ok so to get back to this cake, Hubby loves chocolate, Alot. And this cake is a chocolate lovers dream! I baked a chocolate cake then filled and topped it with dark chocolate ganache and lastly I covered it with MODELING CHOCOLATE! Every single bite filled with chocolate flavour!

Ingredients
- 80g of white flour
- 20g of pure cocoa powder
- ½ teaspoon baking powder
- ½ teaspoon grounded cinnamon
- pinch of salt
- 100g white sugar
- ¼ cup apple sauce
- ¼ cup sunflower oil
- 2 eggs
- ½ teaspoon vanilla essence/paste
- 200g chopped dark chocolate (I used 55%)
- 200ml full cream (+35%)
- ¼ cup sifted icing sugar
- ½ teaspoon vanilla essence/paste
- 250g chopped dark chocolate (same as for ganache)
- 4 tablespoons glucose/corn syrup
- 1 tablespoon water
- Cling Wrap
Instructions
- Pre-heat the oven to 180ºC and prepare your mold. This batter is sufficient for 1 x 20cm mold. Sift your dry ingredients together and leave to the side. Mix your oil, apple sauce and sugar until well mixed, add the eggs 1 by 1 then the vanilla. Lastly add the dry ingredients and remember not to overmix! Pour into your mold and bake for 30-35 minutes. Let cool completely before removing the cake from the mold.
- Heat up the cream in the microwave for 90 seconds, just until before it boils add your chopped chocolate and let it stand for a few minutes. Now use a wire whisk to ensure it´s well mixed and lastly add your vanilla and icing sugar, mix again. Place a piece of clear plastic film (cling wrap) on to the surface and allow to cool to room temperature and thereafter place in the freezer to allow to set quicker to ensure its ready when your cake is cooled. Ensure that it does not freeze!
- Melt your chocolate in a large bowl in the microwave for 30 second intervals until completely melted, mine took 4 x 30 second bursts. In a separate small bowl put the glucose syrup and water and heat up for 30 seconds then mix well. Now add to your melted chocolate and with a tablespoon mix slowly, with big circles, until you can´t see any glucose syrup and the mixture scrapes away easy from the bottom of the bowl, at this stage you should stop mixing. Pour the mixture on a pre prepared clear film, flatten it and cover. Leave to set overnight for approximately 12 hours. After this period the mixture will be hard, knead it for about 30 seconds until you get to a fondant consistency, now its ready to be used. Modeling chocolate can be kept for months if stored in clear film and a sealed container. This taste far better than fondant..believe me! You can also use white or milk chocolate 🙂
Notes
Recipe was adapted by me from: CupcakeAddiction

I planned a friends Baby Shower recently and made some cute cupcakes to showcase on the table. I´ll do a post with the photos I took very soon (post already written, click here to see the cupcakes I made).
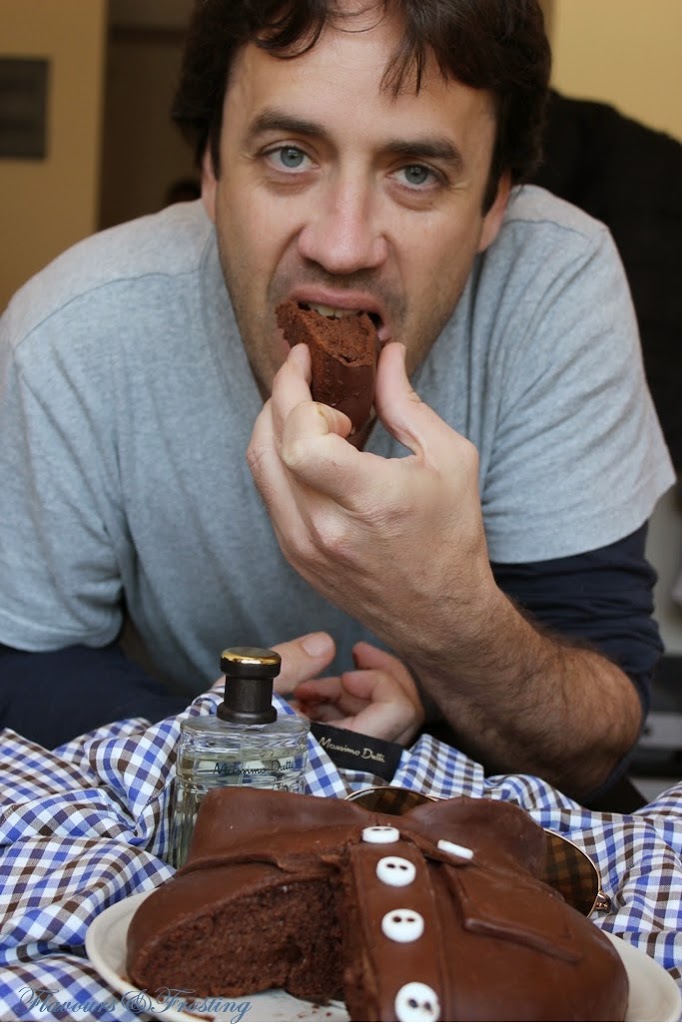
Here´s a photo of hubby enjoying his cake *big smile*
Until next time!


I’m sorry it’s taken me so long to get to this post, because it’s so adorable! The cake looks amazing, Johlene!! Love that you used modeling chocolate to make it so extra-chocolatey.
I´m glad you like it 🙂 🙂 I knew you would like the modeling chocolate part as I can clearly remember your beautiful modeling chocolate roses you made awhile ago! xoxo
Johlene, I looooooove this cake – so adorable! And it looks tasty too! When I saw the shot with the piece cut out of it, my mouth watered! It looks delicious and I wish I was there to have a piece!
Thanks alot! Dont worry I didnt have a piece either..hahaha (next time…..) Happy weekend! xoxo
wow! this is sooo cool and artistic!
Thanks! I´m glad you guys like it! xoxo
This cake is so awesome!! 🙂 Any dad I know would adore this! 🙂
Thanks Jocelyn!! It really came out better than I thought it would.. I was very happy with the end result 🙂 Have a great week!! Xx
Ultimamente no veo tiempo para respirar, hoy me voy a la playa(sufro Jo..jajajaja) pero antes quise venir a ver este pedazo de tarta que esta para devorarlo, me encantan tus creaciones, ya lo sabes!!
Un abrazo enorme y buen finde.
Muchas gracias guapa!! Espero que tuvieses un buen tiempo en la playa 😎
Qué bonita Johlene, eres una artista, no hay más que ver la cara de tu marido con la tarta que le hiciste. Es preciosa. Un beso y buen fin de semana.
Graciasss Tatiana!! Un feliz finde para ti y tuyo…. XOXO
I’m so impressed–this is a work of art my friend! That new camera is serving you very well, too. And wow–what a chocolately-looking cake…. I can practically taste it.
Thanks my friend! Yes it´s really so cool, well worth the wait! Wish I could send you a piece…. Happy Friday Xx
This cake is SOOOO fun!!! Photos are looking good sista!!
Thanks sista, I´m loving my new camera..whoohooo! lol
Happy Friday! Xx
umm la verdad es que el corte de la tarta y el diseño está genial! qué pinta más buena! besis
Muchas gracias!!! Un besito y feliz viernes……..Yay!!